Skyweaver Beginner Guides Part1: How To Create A Skyweaver Account
Hello everyone! Welcome to the first part of the Skyweaver Beginner Guides. In this part, we will check how you can create a Skyweaver account. I heard before that several users had problems while creating their accounts, in this guide I will show how your screens should look before and after the steps, so you can be sure that you are on the right path. So let’s begin.
Step 1: Access the right address. To be able to create a Skyweaver account, firstly you need to go to this address https://play.skyweaver.net on your browser. Sometimes players may confuse and go to another website, which is https://www.skyweaver.net or they may type .com instead of .net. Your screen should look like the below if you went to the correct address.

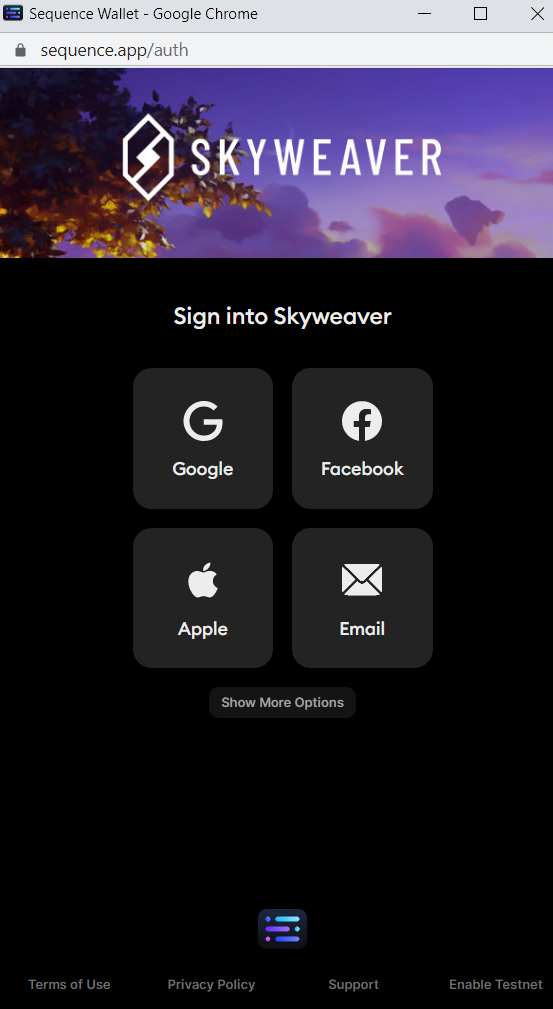
Step 2: Creating the account. After reaching the website, you should see a button called New Account, click on that and it will open an external window. In this window, you need to choose a sign-in method. There are lots of options, choose the one that you prefer and enter your information.

Don’t worry, to create a Skyweaver account you don’t need to connect any external wallet like Metamask. When you create an account, Skyweaver creates a wallet for you, named Sequence wallet, which is created by the same company that developed Skyweaver. It is fast and userfriendly.
Step 3: Choose your username: Now you need to write that glorious username that will accompany you throughout your journey in the Sky. You can change your username anytime you want, so if you are not sure about it, you don’t need to worry about that. Ohh, also don’t forget to click on that button which proves that you are not a robot 😉

Step 4: Enjoy. If you have done everything correctly so far, your account should be created and you will be able to see the main page of the game with the Play Tutorial 1 button. Enjoy your Skyweaver journey!


